

Hey there! As a supplier of Plate - shell Type heat exchangers, I'm super excited to walk you through the installation process of these nifty devices. Plate - shell type heat exchangers are pretty awesome, offering high efficiency and compact design, which makes them a popular choice in various industries.
First off, let's talk about the prep work. Before you even start thinking about putting the heat exchanger in place, you've gotta make sure you've got a proper location. The site should be flat and stable, with enough space around it for easy access during installation, operation, and maintenance. You don't want to squeeze it into a tight corner where you can't reach the valves or do any repairs later on.
Once you've found the right spot, measure the area carefully. The dimensions of the heat exchanger should match the available space. You also need to consider the clearance for pipes, hoses, and any other connections. It's a good idea to draw a rough sketch of the layout to visualize how everything will fit together.
Now, let's move on to handling the heat exchanger. These things can be heavy, so you'll need the right equipment to lift and move them safely. A crane or a forklift is usually the way to go. Make sure the lifting points on the heat exchanger are clearly marked and that the lifting equipment is properly attached. When you're moving it, go slow and steady to avoid any damage.
When the heat exchanger is in the right position, it's time to start the actual installation. The first step is to mount the heat exchanger on its support structure. This support should be strong enough to hold the weight of the unit, especially when it's full of fluid. Use bolts or welding to secure the heat exchanger to the support, depending on the design and the requirements of the installation.
Next up are the pipe connections. You'll have two sets of pipes: one for the hot fluid and one for the cold fluid. The connections need to be made carefully to prevent any leaks. First, clean the pipe ends to remove any dirt or debris. Then, use appropriate gaskets or seals to ensure a tight fit. You can use a torque wrench to tighten the bolts to the correct specifications. This is really important because if the connections aren't tight enough, you could end up with leaks, which can reduce the efficiency of the heat exchanger and even cause damage over time.
After the pipe connections are made, it's a good idea to do a pressure test. This involves filling the heat exchanger with water or another suitable fluid and applying pressure to check for any leaks. The pressure should be within the recommended range for the heat exchanger. If you find any leaks, you'll need to go back and tighten the connections or replace the gaskets.
Once the pressure test is successful, you can start installing the control valves and instrumentation. These are used to regulate the flow of the fluids and to monitor the temperature and pressure inside the heat exchanger. The control valves should be installed in the right position so that they can easily control the flow. The instrumentation, such as thermometers and pressure gauges, should be placed where they can accurately measure the conditions inside the heat exchanger.
Now, let's talk about the electrical connections, if any. Some heat exchangers have electrical components, such as motors for pumps or sensors. Make sure you follow the electrical wiring diagrams carefully. Use the right type of wires and connectors, and ensure that the electrical system is properly grounded. This is crucial for safety reasons, as well as for the proper functioning of the heat exchanger.
After all the physical installation and connections are done, it's time to do a final inspection. Check all the connections again to make sure they're tight and secure. Look for any signs of damage or wear on the heat exchanger and the surrounding equipment. Make sure all the control valves and instrumentation are working properly.
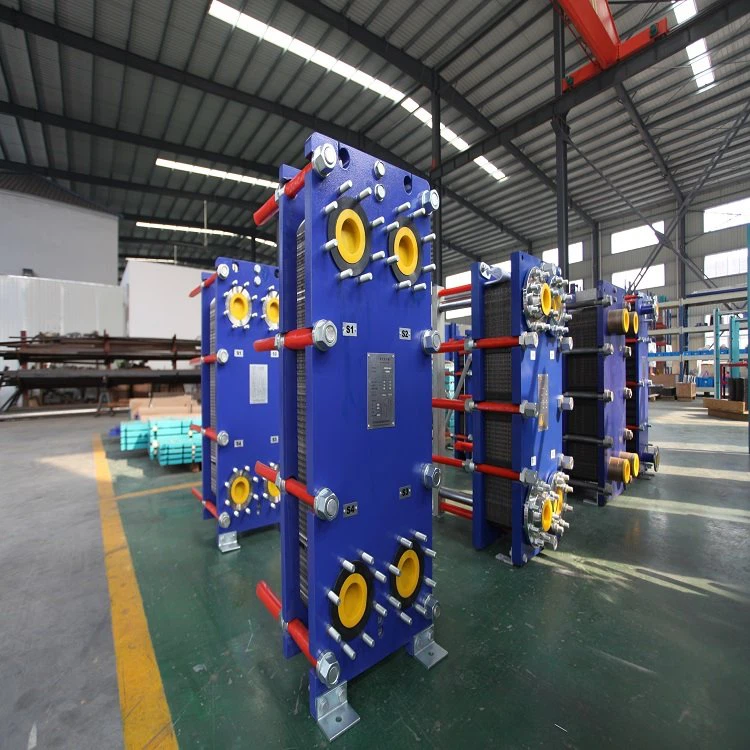
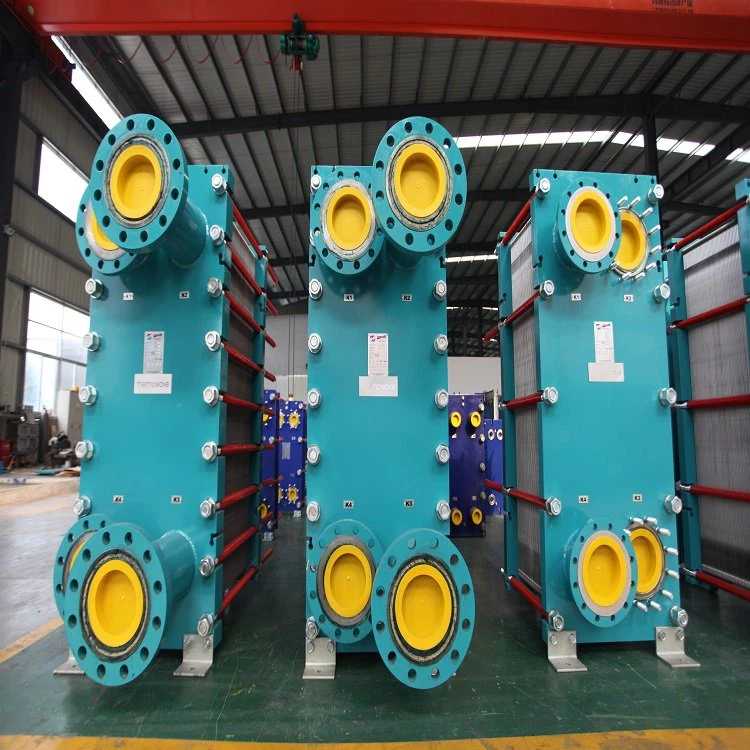
Once you're satisfied with the inspection, you can start the heat exchanger up. Start slowly, gradually increasing the flow of the fluids and monitoring the temperature and pressure. Keep an eye on the performance of the heat exchanger to make sure it's working as expected. If you notice any problems, such as abnormal noises or fluctuations in temperature or pressure, stop the heat exchanger immediately and troubleshoot the issue.
Now, I know what you might be thinking. "This all sounds complicated. How do I know if I'm doing it right?" Well, that's where we come in. As a Plate - shell Type supplier, we've got the expertise and experience to help you every step of the way. We can provide you with detailed installation manuals and even offer on - site support if needed.
Compared to other types of heat exchangers, like the Plate - Frame Type, the Plate - shell Type has some unique installation requirements. The Plate - Frame Type usually has a more modular design, which can make the installation a bit different. But the overall principles of mounting, connecting pipes, and doing pressure tests are still the same.
If you're in the market for a Plate - shell Type heat exchanger, or if you've already got one and need some help with the installation, don't hesitate to get in touch. We're here to make the process as smooth and hassle - free as possible. Whether you're a small business or a large industrial operation, we've got the products and services to meet your needs. So, if you're interested in purchasing a Plate - shell Type heat exchanger or need more information about the installation process, reach out to us. We'll be more than happy to have a chat and discuss how we can help you with your heat exchanger needs.
References
- Heat Exchanger Handbook, Various Authors
- Industrial Heat Exchanger Installation Guidelines, Industry Publications